Introduction
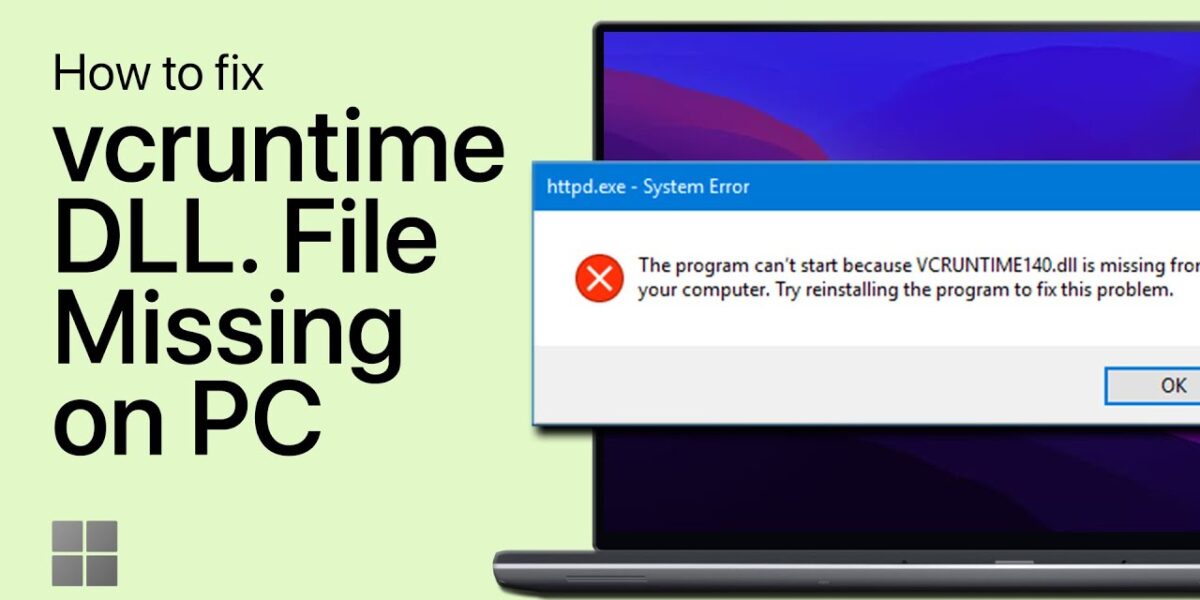
Stumbled upon a bothersome “vcruntime140.dll missing” error on your Windows 10 or Windows 11 PC? Nothing can halt productivity or spoil leisure quite like it, especially when it stands between you and your favourite game or critical software. Fear not, as we’re about to embark on a quick, straightforward journey that’ll swiftly escort you past this hurdle. We’ll navigate you through the process of downloading and installing the crucial vcruntime140.dll file, effectively rectifying this common but pesky Windows error. You’ll soon have your software or game up and running again in no time! So, let’s roll up our sleeves and dive right into the solution.
Step 1: Procure the VCRuntime DLL File
Begin by heading to the trusted resource dll-files.com. Here, you’ll find the vcruntime140.dll file that you need. Both 32-bit and 64-bit versions of this critical Microsoft Runtime Library component are available. Download the one suitable for your Windows version (Windows 10 or 11).

After the successful download, navigate to your Downloads folder. In here, you’ll see two files – one each for the 32-bit and 64-bit versions. They share the same name, so remember which is which. To unzip these files, you can use any popular unzipping software like WinZip or 7Zip. Alternatively, you can utilize the handy “Extract All” option that’s built right into Windows 10 and 11.
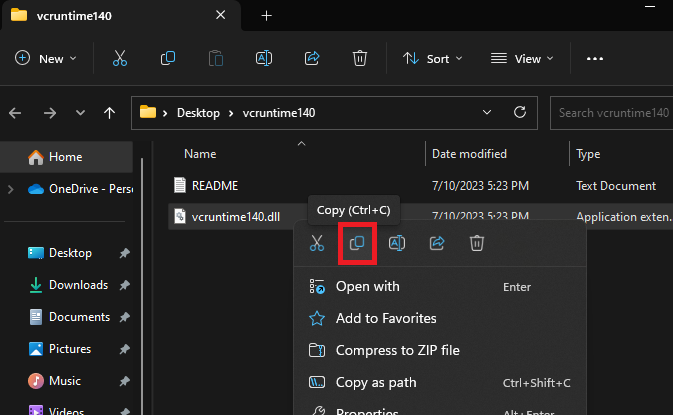
Post extraction, locate the 64-bit folder (if you’re on a 64-bit system) and proceed to copy the DLL, which stands for “Dynamic-link library”, file.

Step 2: Deploy the VCRuntime DLL File
With the DLL file copied, the next step involves positioning it correctly within your system. Open the file explorer and proceed to the C: drive, the usual location for the Windows installation.
Here, follow the path: Windows > System32. In this directory, paste the previously copied DLL file.

Next, return to your Downloads folder to copy the 32-bit DLL file. Navigate your way to the “SysWOW64” folder, located within the “Windows” folder. Paste your copied file here.

To implement these changes, restart your computer. After rebooting, try launching the previously affected application or game again. The system should now recognize the formerly missing DLL file and function without the error.
It’s important to note that for users with a 32-bit version of Windows, the “SysWOW64” folder won’t exist. In this scenario, you won’t need to copy the 32-bit DLL file.


